
Getting started
Connect Currai from start to finish
Create a workspace, connect the real AI application, configure product signals, and verify alerts from one guided workflow.
This tutorial takes you from a new Currai account to a working intelligence loop. By the end, one real application interaction will appear in Currai, your workspace will have an intent and violation rule, and you will know how to configure ongoing alerts.
What you need
- a TypeScript, JavaScript, or Python application with a real chatbot, agent, MCP server, or model path;
- access to the application's server environment and normal restart or deployment workflow;
- a coding agent that supports installed skills;
- a Currai account with permission to create a workspace.
1. Describe your product
Open Currai onboarding and enter the public product website. Choose Quick analysis to generate a suggested workspace name and product description, then review both fields. If the website is private or unavailable, choose Describe it instead and enter the details manually.
Use a description that says what the product does and who it helps. Currai uses this context to make the workspace easier to understand; real insights still come from incoming application events.
Select One last step to create the workspace.
2. Generate and save the ingestion key
On Connect your AI application, select Generate ingestion key. Copy the environment block immediately and store it in the application's server environment:
CURRAI_PUBLIC_KEY=<your-public-key>
CURRAI_SECRET_KEY=<your-secret-key>
CURRAI_BASE_URL=https://www.currai.app
The secret is shown once. Do not paste it into source control, client-side code, a screenshot, or a coding-agent conversation. The coding agent only needs the environment variable names because their values are already available to the server process.
3. Install and run the Currai Skill
From the AI application's repository root, run:
npx skills add https://github.com/curraiapp/skills --skill curraiThen copy the setup prompt from onboarding and give it to the coding agent for example (Codex or Claude Code). The prompt asks the agent to use $currai, find the real AI path, add authenticated native HTTP capture, and verify one real interaction without printing the secret.
For the exact prompt and the agent's definition of done, read How to run the Currai Skill.
4. Restart and run one real interaction
Restart the local server or redeploy so the application receives the new environment values. Use the application as a real user would: send one chat message, run one agent action, or invoke one MCP tool.
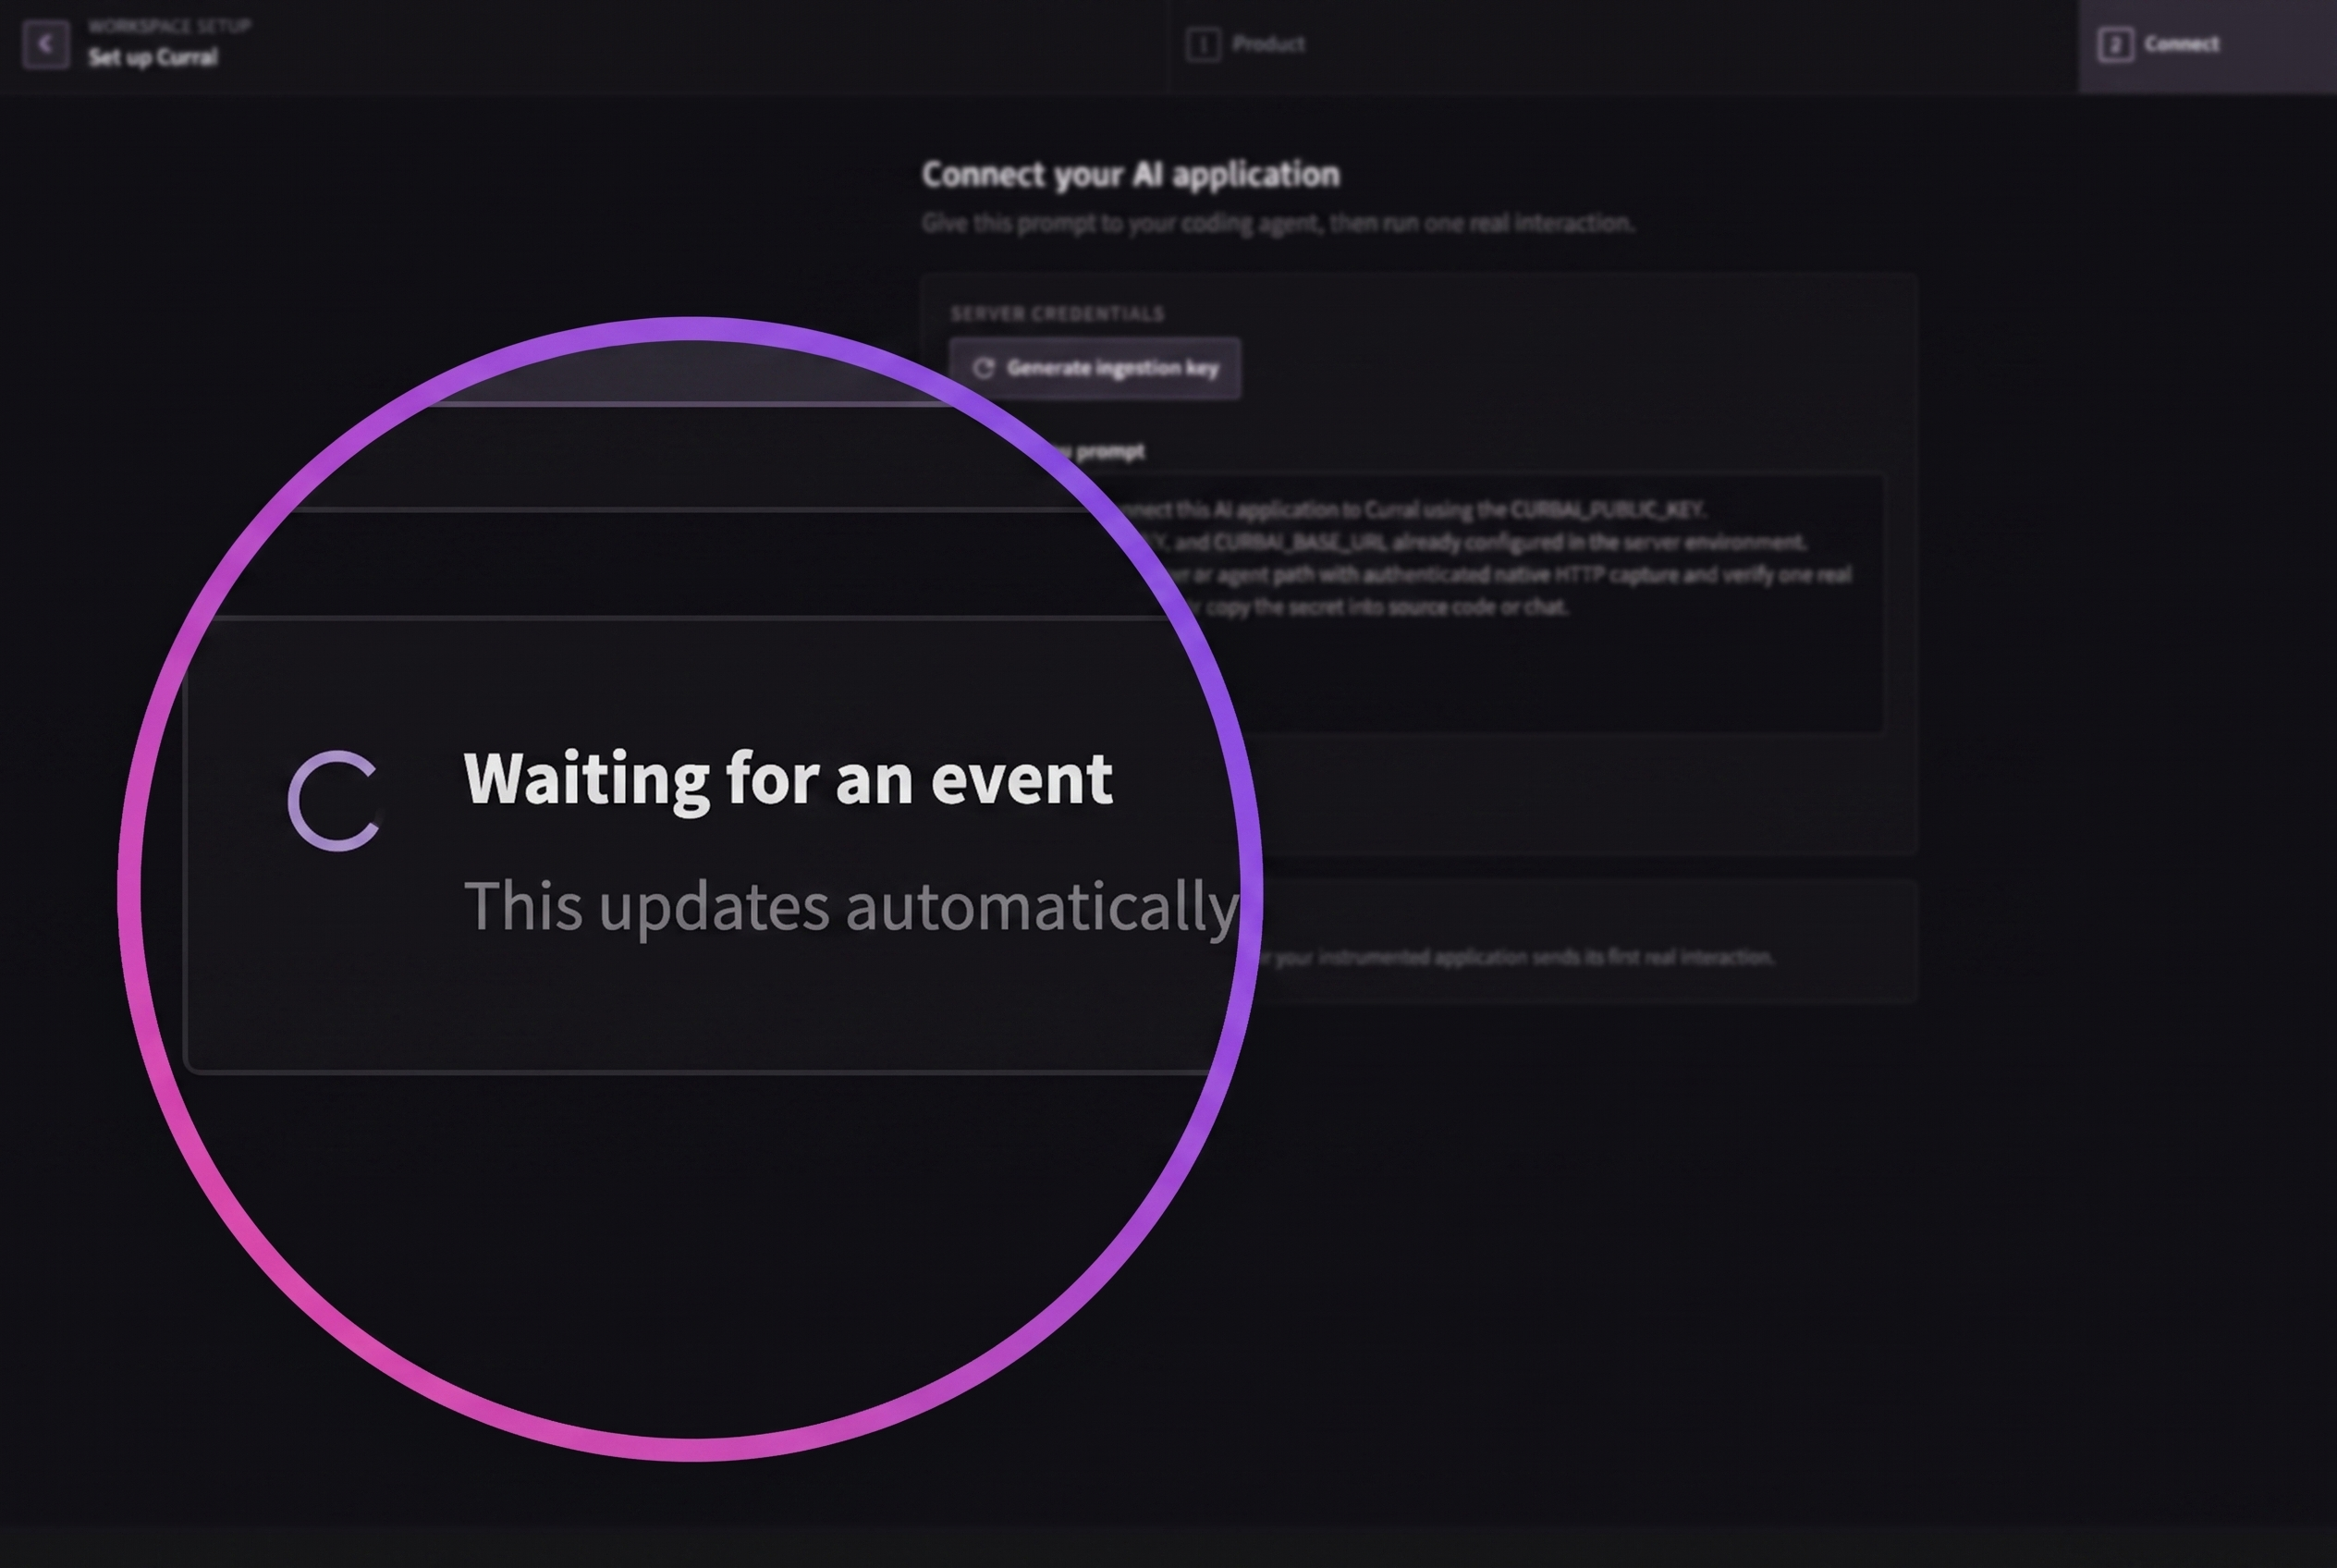
Return to onboarding. The waiting state updates automatically after Currai accepts a real event. Select Finish setup, then confirm the interaction in:
- Observe → Events, where the captured operations appear;
- Analyse → User Stories, where Currai reconstructs the conversation goal and outcome;
- Observe → Errors, if the interaction contained a failed operation.
5. Create an intent
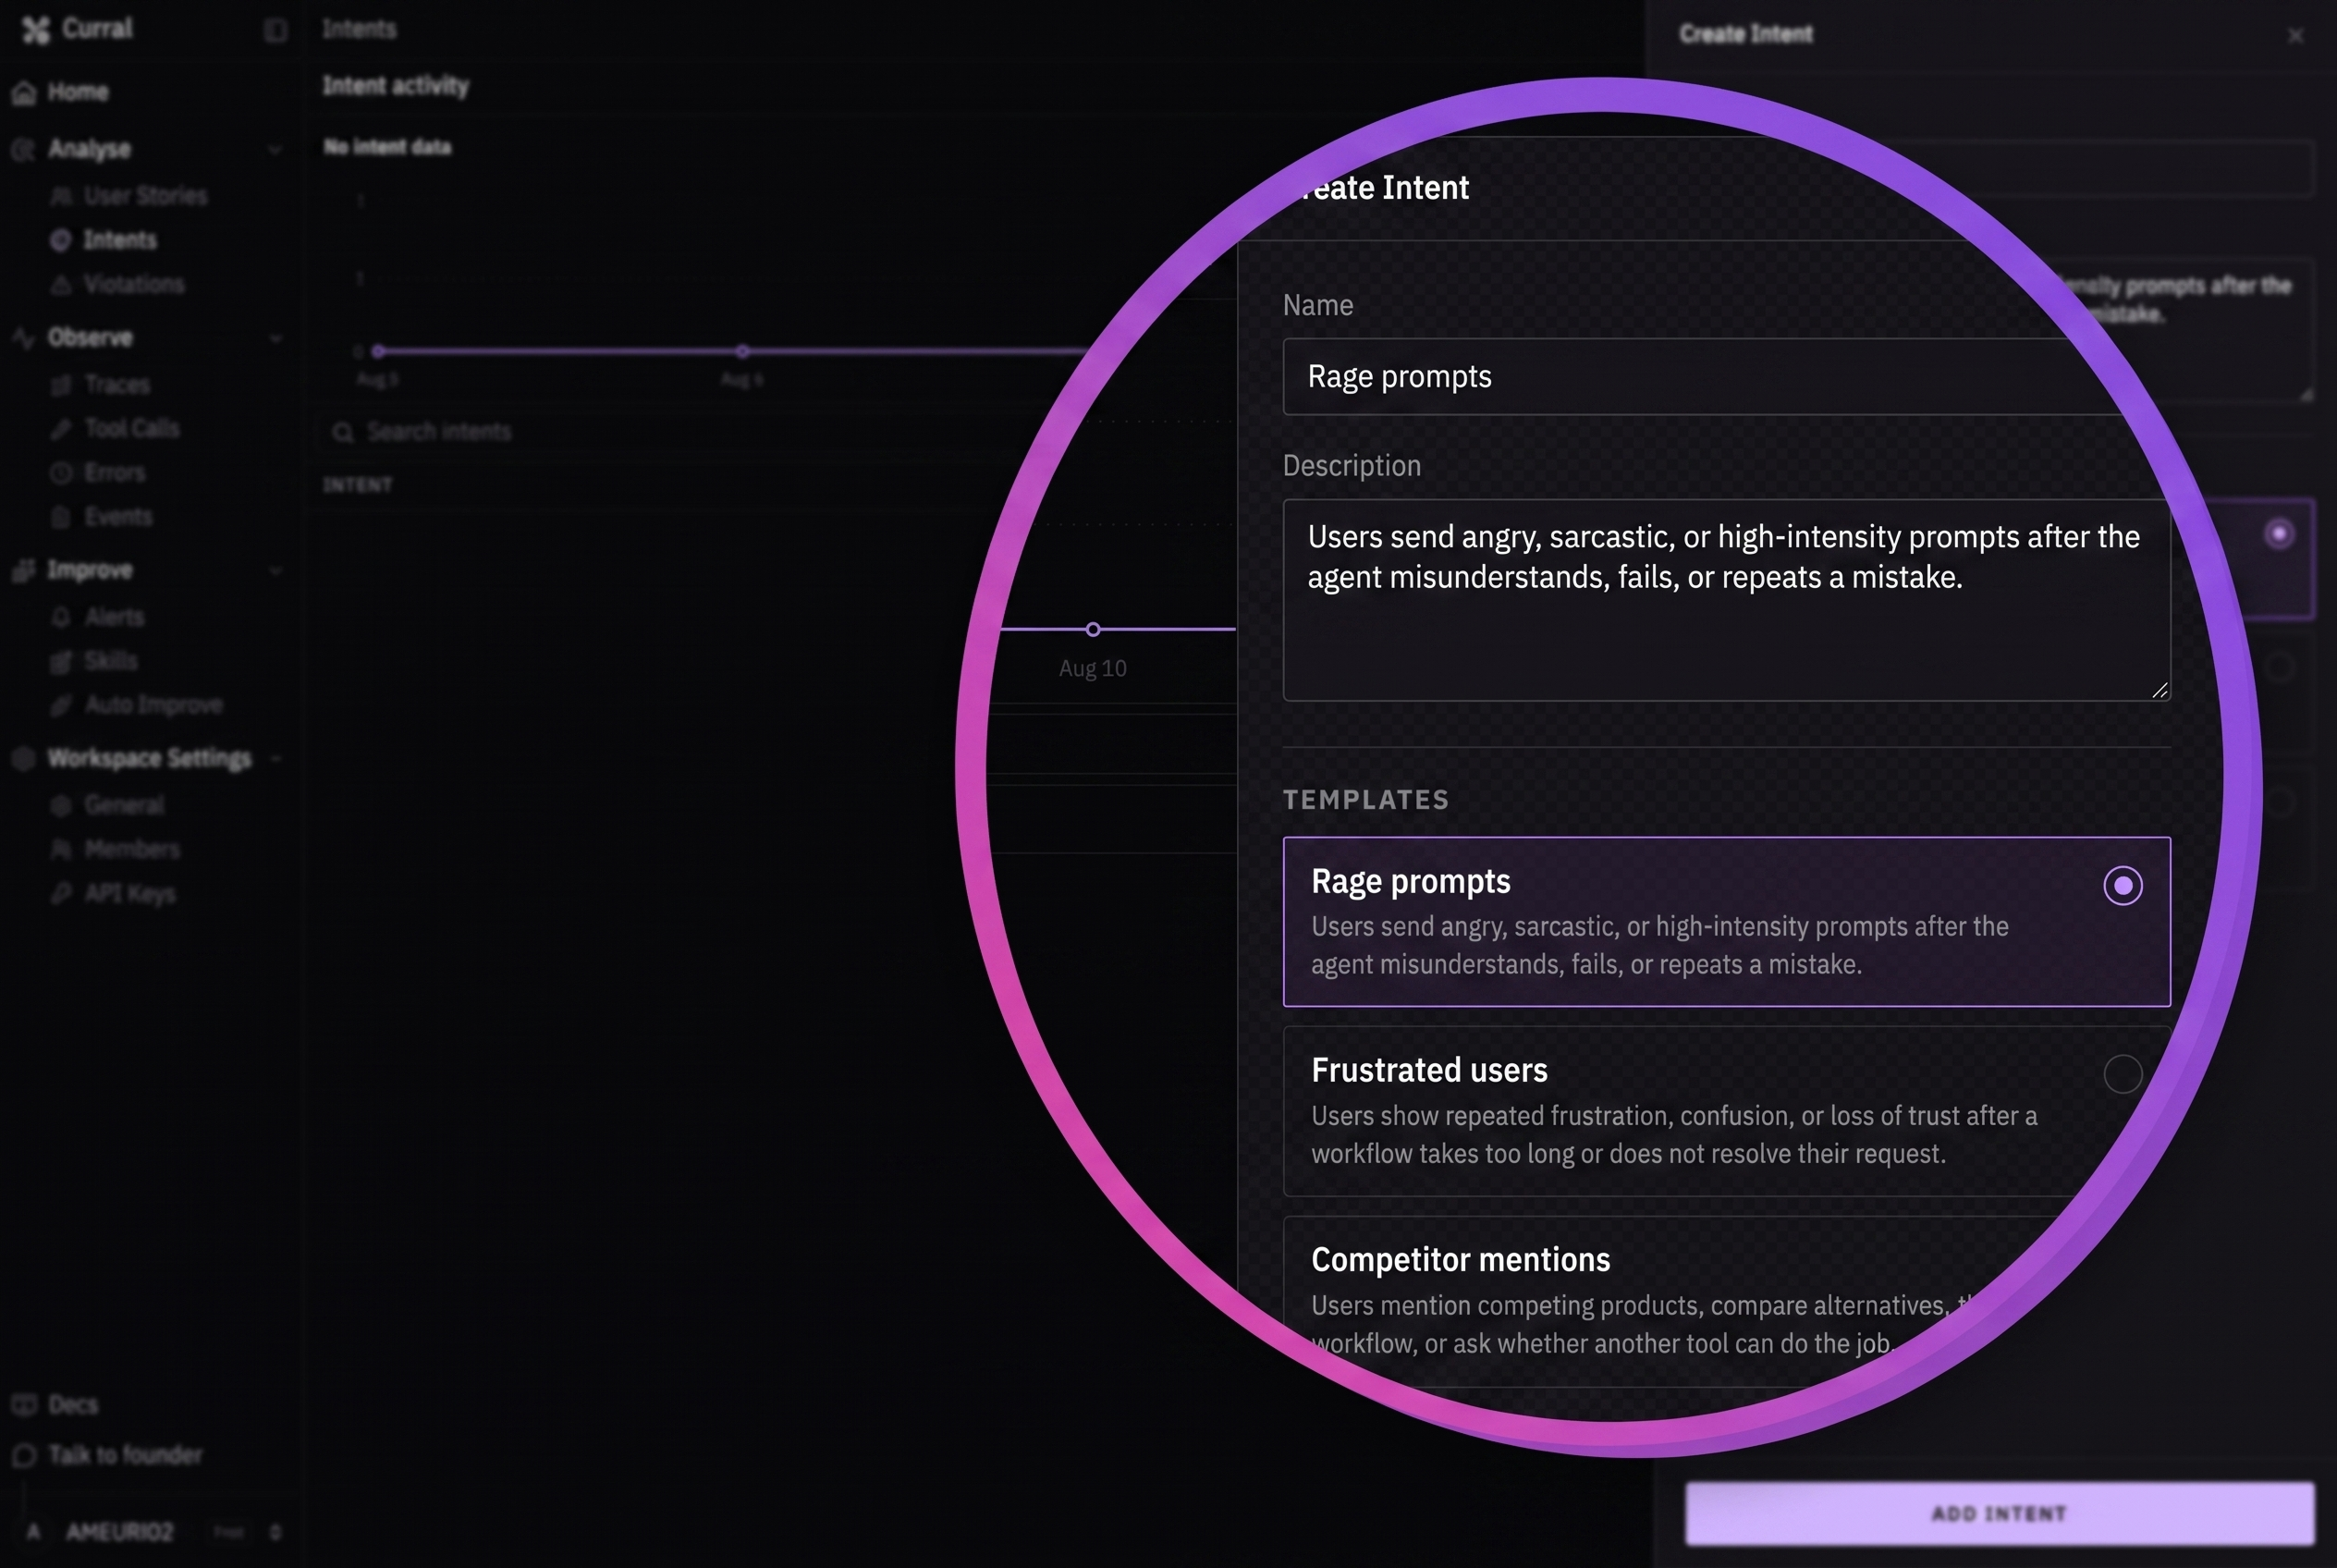
Open Analyse → Intents and select Create intent. Choose a template or provide:
- a short name, such as
Pricing questions; - a description of the user messages and goals that should match.
Select Add Intent. New intents are approved and ready to classify future interactions.
6. Create a violation rule
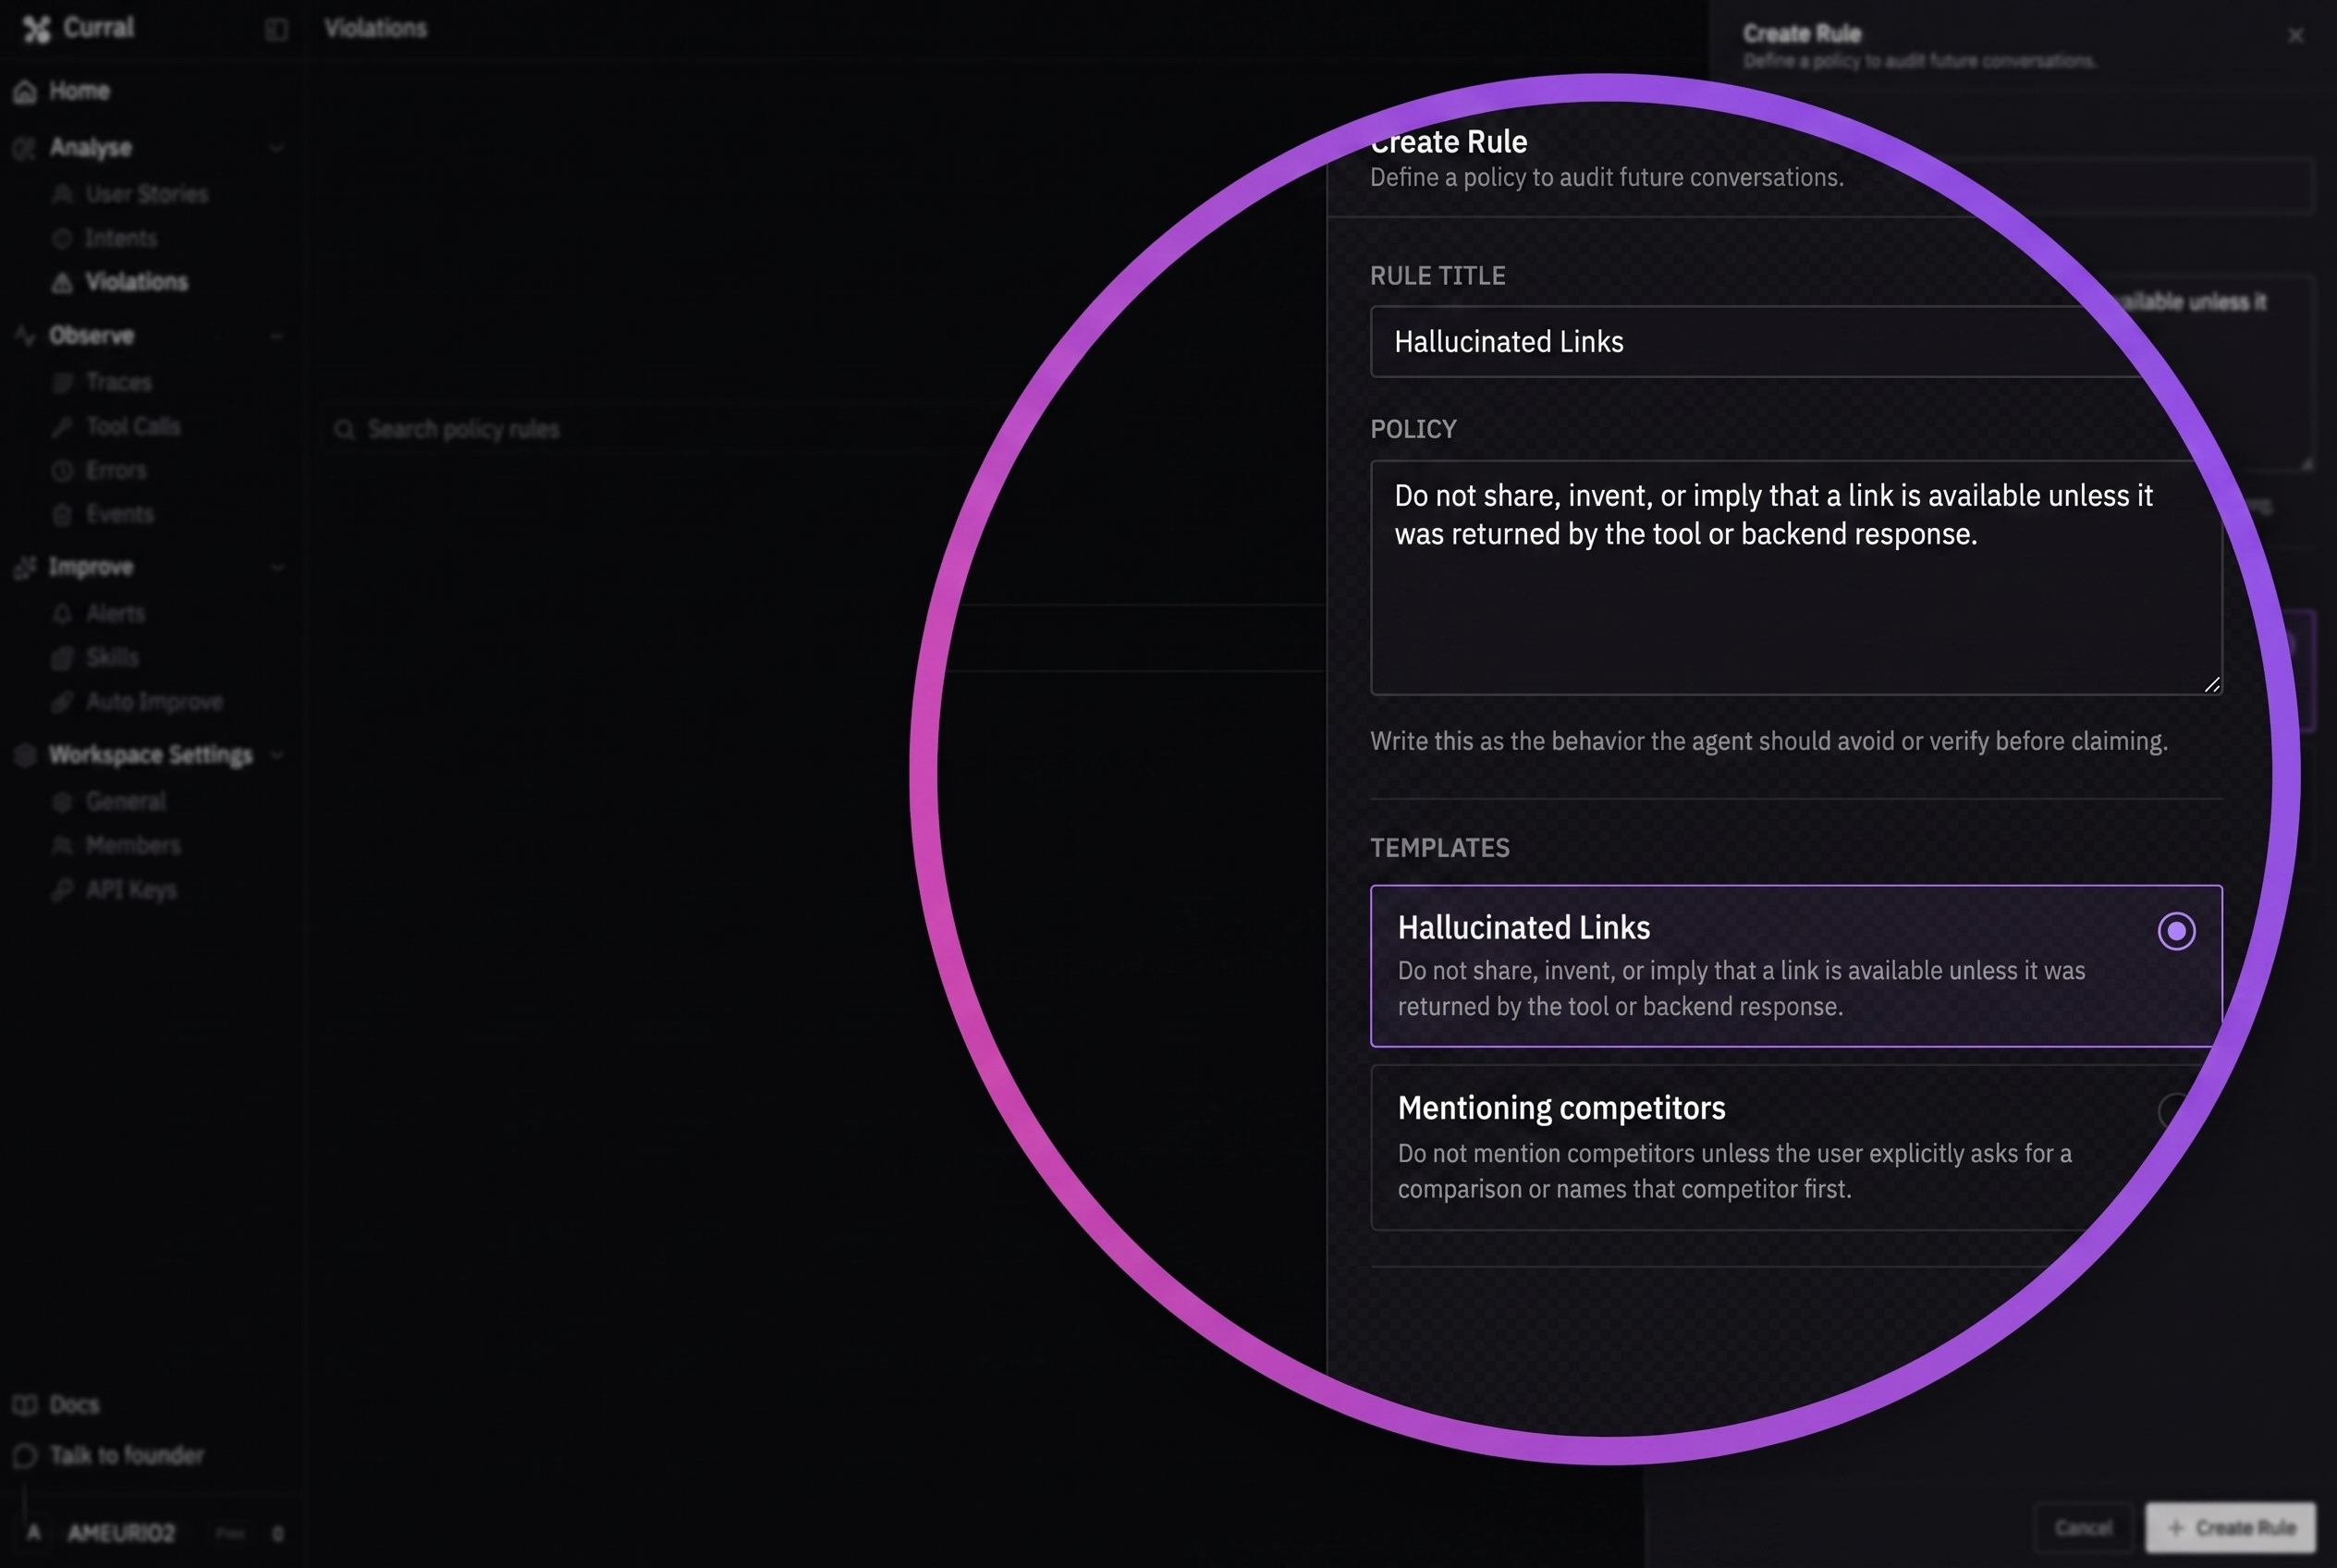
Open Analyse → Violations and select New Rule. Choose a template or enter:
- a rule title that names the unwanted behavior;
- a policy written as behavior the agent should avoid or verify before claiming.
For example, require the agent to avoid claiming that a download exists unless a backend tool returned a real asset. Select Create Rule to audit future conversations.
7. Validate the definitions with new evidence
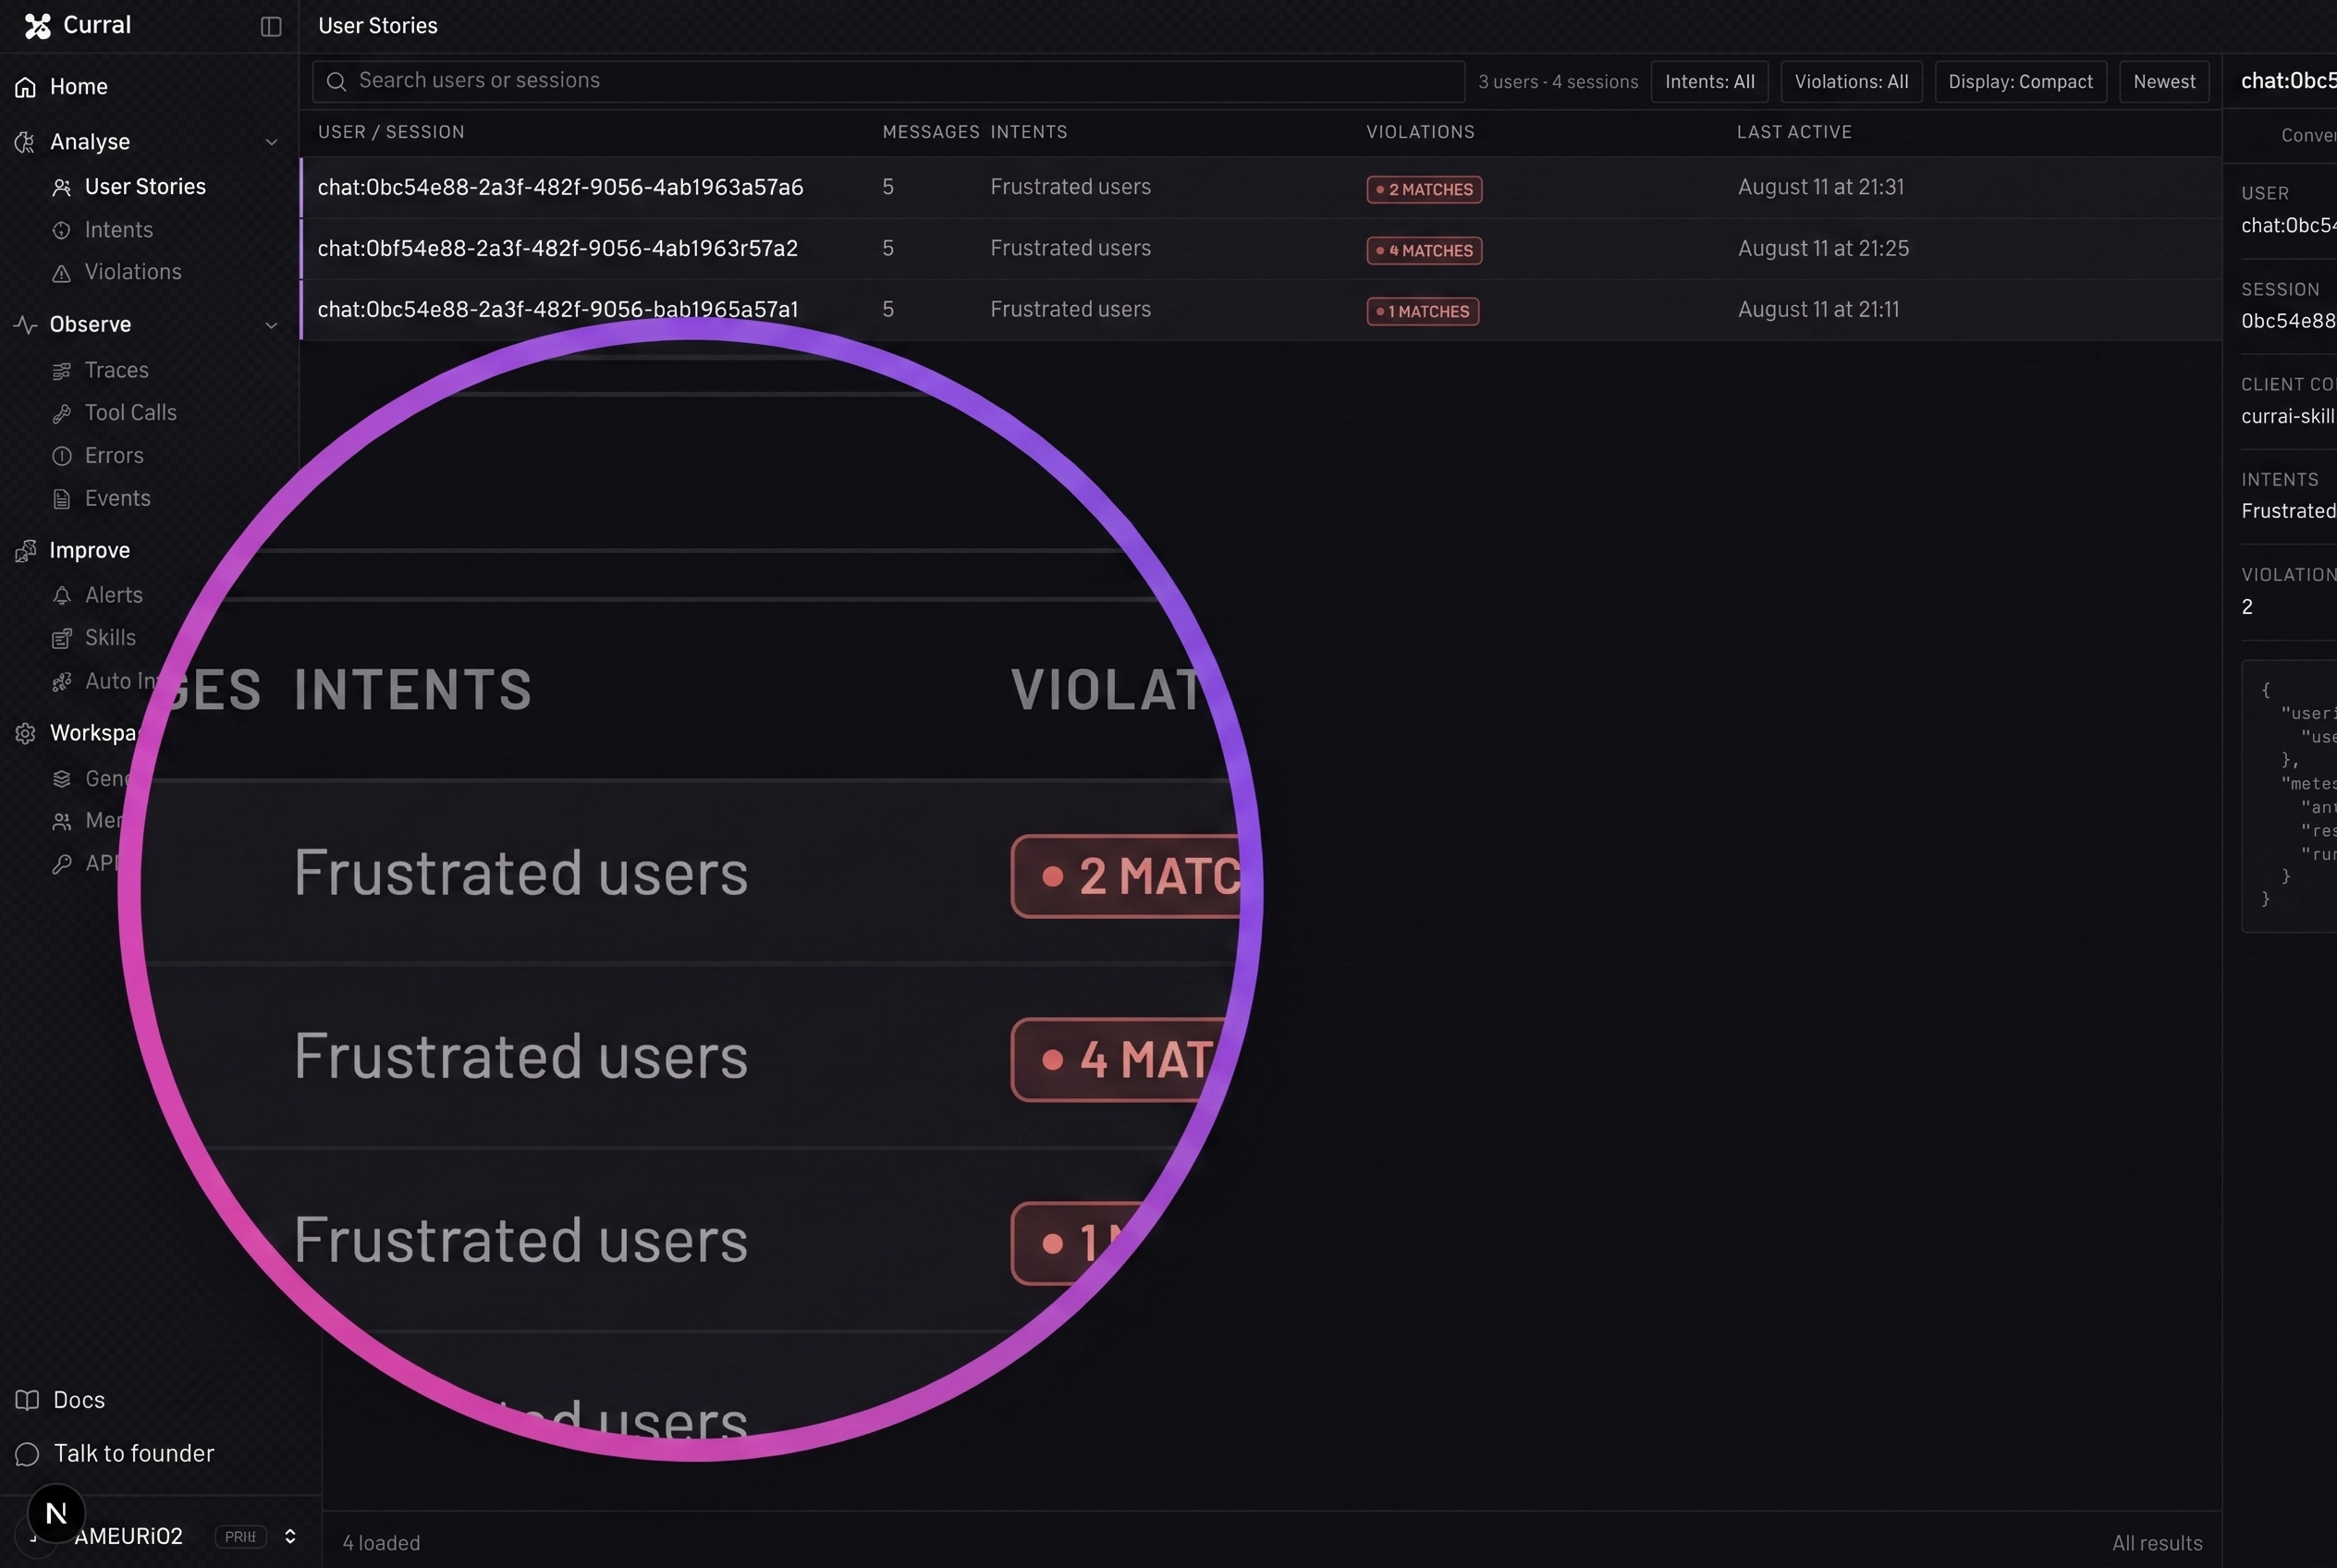
Run another real interaction that should match the intent or exercise the violation rule. Return to Intents or Violations and open the definition.
Review the match confidence, quoted evidence, explanation, and linked conversation. If the match is too broad or misses the behavior, edit the description or policy and validate it with another new interaction.
8. Configure alerts and Slack
Open Improve → Alerts. Choose a template to create a dashboard alert for a critical violation, failure-rate spike, repeated frustration, or custom condition. Configure its metric, threshold, and cadence.
Pro and Business workspaces can also select Set Up Daily Slack Report, connect a Slack workspace and channel, and choose what the digest includes. Free workspaces can use dashboard alerts but must upgrade before starting Slack setup.
Follow How to configure Slack and alerts for the complete delivery workflow.
9. Review and improve
Use Home → Command Center to review top intents, violations, activity, and failures across the selected time range. Open Improve → Auto Improve and generate proposals when enough real evidence has accumulated. Every proposal should link back to the events that support it.
What you built
You now have a complete Currai loop: the real application sends evidence, User Stories explain conversations, intents and violations classify important behavior, alerts monitor conditions, and improvement proposals point back to production evidence.
Keep the capture helper in the real application path and revisit definitions as the product changes. If any step fails, use How to troubleshoot Currai.